How to create a distribution chart in excel
Table of Contents
Table of Contents
If you’re working with data in Excel, chances are you’re going to want to create a distribution graph at some point. Distribution graphs are a helpful way to visualize data and can provide valuable insights. In this post, we’ll go over how to draw a distribution graph in Excel so you can get started with your data analysis.
Working with Excel can be frustrating at times, especially if you’re not familiar with all of its features. Drawing a distribution graph in Excel can be particularly challenging if you’re not sure where to start. It can also be time-consuming if you don’t know the right steps to follow. But don’t worry - once you know what to do, the process is straightforward.
How to Draw a Distribution Graph in Excel
If you want to create a distribution graph in Excel, here are the steps you’ll need to follow:
- Enter your data into an Excel spreadsheet.
- Select the data you want to graph.
- Click on the “Insert” tab.
- Click on the “Insert Statistic Chart” button in the Charts group.
- Select “Histogram” from the drop-down menu.
- Excel will automatically generate a distribution graph for you based on your data.
That’s it! You now have a distribution graph in Excel.
Why Draw a Distribution Graph in Excel?
There are several reasons why you might want to draw a distribution graph in Excel. For example, you might want to:
- Visualize data to gain insights.
- Identify patterns in the data.
- Compare data sets.
- See how data is distributed.
Distribution graphs can be particularly useful when working with large data sets, as they can help you identify trends that might be difficult to see otherwise.
Types of Distribution Graphs
There are several types of distribution graphs you can create in Excel. Some of the most common include:
- Histograms
- Box plots
- Scatter plots
The type of distribution graph you choose will depend on the type of data you’re working with and the insights you’re hoping to gain.
Customizing Your Distribution Graph
Excel allows you to customize your distribution graph in a number of ways. For example, you can:
- Change the colors of the bars or lines.
- Add axis titles and labels.
- Change the font size and style.
- Adjust the size and shape of the graph.
Customizing your distribution graph can help you make it more aesthetically pleasing and easier to read.
Common Issues and Solutions When Drawing a Distribution Graph in Excel
When drawing a distribution graph in Excel, there are a few common issues you might run into. Here are some solutions to those issues:
Issue: Excel is not showing all data in the graph
Solution: This can happen if there are blank cells in your data set. Make sure to fill in any blank cells before graphing your data.
Issue: Excel is not showing the correct number of bars in the histogram
Solution: This can happen if Excel is grouping your data into the wrong number of bins. You can adjust the number of bins by right-clicking the graph and selecting “Format Data Series”. Then, under “Histogram Bin” set the “Bin width” to the desired value.
Conclusion of How to Draw Distribution Graph in Excel
Drawing a distribution graph in Excel might seem daunting at first, but it’s a valuable skill that can help you gain insight into your data. By following the steps outlined in this post, you can create a distribution graph in Excel in no time. Remember to experiment with different types of graphs and to customize your graph to make it more visually appealing and easier to read. Happy graphing!
Question and Answer
Q: How can I change the colors of the bars in my distribution graph?
A: To change the colors of the bars in your distribution graph, click on one of the bars to select them all. Then, right-click and select “Format Data Series”. Under “Fill & Line”, you can choose your preferred color.
Q: Can I edit the data in my graph?
A: Yes, you can edit the data in your graph by right-clicking and selecting “Edit Data”.
Q: How do I add axis titles to my distribution graph?
A: To add axis titles to your distribution graph, click on the graph to activate the Chart Tools tab. Then, click on the “Layout” tab and select “Axis Titles”. From there, you can choose to add titles to your x-axis and y-axis.
Q: How can I save my graph as an image?
A: To save your graph as an image, right-click on the graph and select “Save as Picture”. From there, you can choose your preferred file format and save the image to your computer.
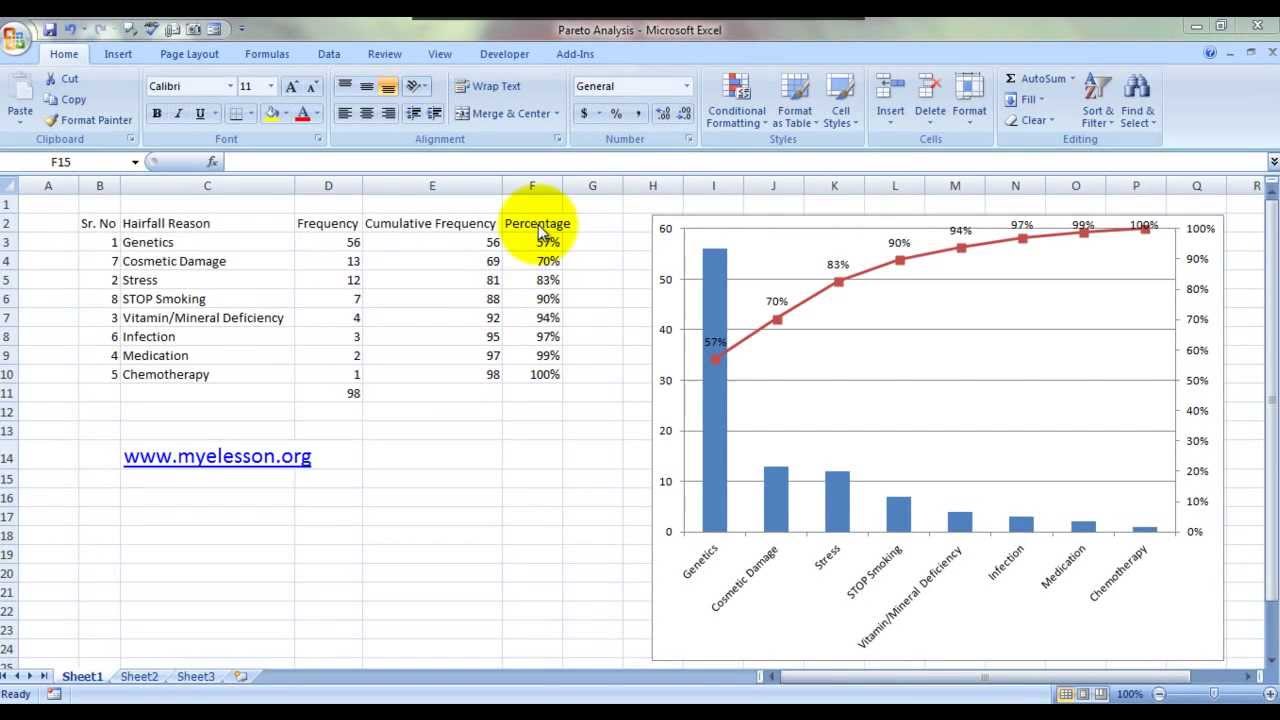
Gallery
Great Probability Distribution Graph Excel Bar Chart With Line Overlay

Photo Credit by: bing.com /
How To Create A Distribution Chart In Excel - Chart Walls

Photo Credit by: bing.com /
How To Draw Normal Distribution Graph In Excel

Photo Credit by: bing.com /
How To Use Excel To Construct Normal Distribution Curves - ConsultGLP

Photo Credit by: bing.com / distribution curves generator construct scatter deviations precise diagram
Looking Good Excel Draw Function Graph Power Bi Two Axis Line Chart

Photo Credit by: bing.com /